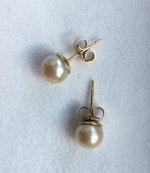
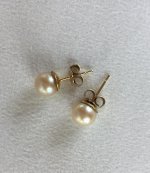
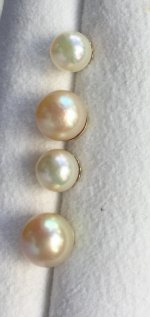
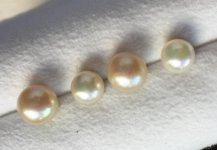
The drill holes appear to be a bit too large. The optimal hole size for most findings is 0.8 mm, a size that can be widened to just about fit any post when needed. If the drill holes are that large, the best solution would be to use a larger peg if possible.
You're seeing glue around the edges because the glue wasn't used "only" on the peg. It also went into the cup.
There is a technique to setting pearls that will keep almost all of the glue in the drill hole and very little under the cup. When setting the pearl, if you can get a ball of epoxy at the very end of the peg when you're holding it pointed down (not vertically but between 45 and 90 degrees) and then insert into the drill hole directly without hitting the surface of the pearl, most of the glue will remain in the drill hole. The
ball of epoxy looks like a drop of water balling up but not quite ready to fall.
If the epoxy is placed in the cup, or if the ball of epoxy moves from the end of the peg into the cup, it causes a problem. First, you don't have the epoxy sufficiently in the drill hole and secondly, the epoxy has to go somewhere when the pearl is pressed into the cup. That's when it comes out around the edges.
This is a technique everyone who does production at our office has to learn. Once it is mastered, they can set pearls quickly and effectively. But in the beginning, they will spend a lot of time cleaning the excess epoxy from around the cup.
The easiest way to
remove that excess epoxy is with Attack, we've found. After the epoxy dries or even while it is drying, dip a pointed Q-tip into Attack, and rub it around the cup on the excess epoxy. You may have to keep running and dipping the point in attack for 30 seconds or so. Some of the epoxy will start to come off, and most of the time, when it is ready, you can peel the entire strip off all together with your fingers after it becomes pliant.
After you're able to get it off, give the pearl one more swipe with a clean tip dipped in Attack and you should be good to go.


